Hello Messaging Experts, Now its time for exploring the MS Exchange 2013 and I wanna publish the info collected in a single page
Nice Video about 2013 installation:
www.youtube.com/watch?v=cnklpCaVIpg
Step by Step Installation:
http://akfash.wordpress.com/2012/11/19/installing-exchange-server-2013-step-by-step/
Installing Exchange Server 2013 Step by Step
Nice Video about 2013 installation:
www.youtube.com/watch?v=cnklpCaVIpg
Step by Step Installation:
http://akfash.wordpress.com/2012/11/19/installing-exchange-server-2013-step-by-step/
Installing Exchange Server 2013 Step by Step
Posted: November 19, 2012 in Exchange, Exchange Server 2013
Tags: Exchange 2013 Installation, Exchange Server 2013, Exchange server 2013 Step by Step
Tags: Exchange 2013 Installation, Exchange Server 2013, Exchange server 2013 Step by Step
The following is the step by step
guide on how to install Microsoft Exchange Server 2013 RTM.
The
environment:
-
Windows Server 2012 Active Directory with Windows Server 2012 Forest and Domain functional level
-
Windows Server 2012 member server which is to be installed with Exchange Server 2013
Installation
Steps
On the member server install the
Remote Server Administration Tools using PowerShell
Install-WindowsFeature
RSAT-ADDS
Install the Exchange Server 2013
Prerequisites (run the below command using PowerShell)
Install-WindowsFeature
AS-HTTP-Activation, Desktop-Experience, NET-Framework-45-Features,
RPC-over-HTTP-proxy, RSAT-Clustering, RSAT-Clustering-CmdInterface,
Web-Mgmt-Console, WAS-Process-Model, Web-Asp-Net45, Web-Basic-Auth,
Web-Client-Auth, Web-Digest-Auth, Web-Dir-Browsing, Web-Dyn-Compression,
Web-Http-Errors, Web-Http-Logging, Web-Http-Redirect, Web-Http-Tracing,
Web-ISAPI-Ext, Web-ISAPI-Filter, Web-Lgcy-Mgmt-Console, Web-Metabase,
Web-Mgmt-Console, Web-Mgmt-Service, Web-Net-Ext45, Web-Request-Monitor,
Web-Server, Web-Stat-Compression, Web-Static-Content, Web-Windows-Auth, Web-WMI,
Windows-Identity-Foundation
Upon running the above command
Restart your server
Apart from the above, you would have
to install the below
Now the prerequisites installation is
done and we can move on to installing Exchange Server 2013
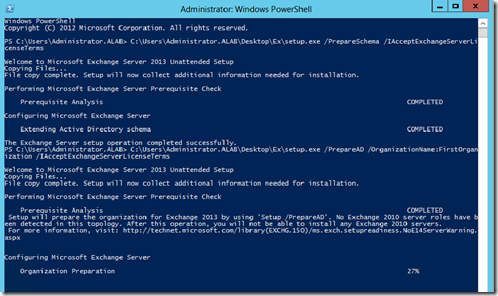
Prepare Schema and
AD
Prepare the Active Directory Schema
to install Exchange Server 2013 (basically this will extend the schema). You
will have to insert the Exchange Server 2013 RTM DVD (Media Kit)
– Assumption,
DVD ROM drive letter is D:\ and Exchange Server Installation Setup path is
D:\Setup.exe –
-
Open PowerShell or CMD in admin mode
D:\Setup.exe
/PrepareSchema /IAcceptExchangeServerLicenseTerms
Or
D:\Setup.exe /PS
/IAcceptExchangeServerLicenseTerms
-
Now that the Schema is being prepared, we will have to move on to the next step and prepare the Active Directory Topolgy.
Before you run this command
you should have your Exchange Server 2013 Organization name
D:\Setup.exe /PrepareAD
/OrganizationName:<name>
/IAcceptExchangeServerLicenseTerms
Or
D:\Setup.exe /PAD
/OrganizationName:<name>
/IAcceptExchangeServerLicenseTerms
Now that the Schema and the AD are
prepared,
Run the Exchange Server Setup
from the DVD (Run as Administrator)
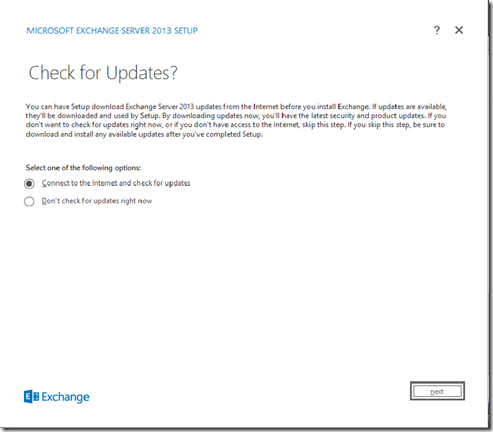
It will request to check for updates,
select Connect to the internet and check for updates and click next
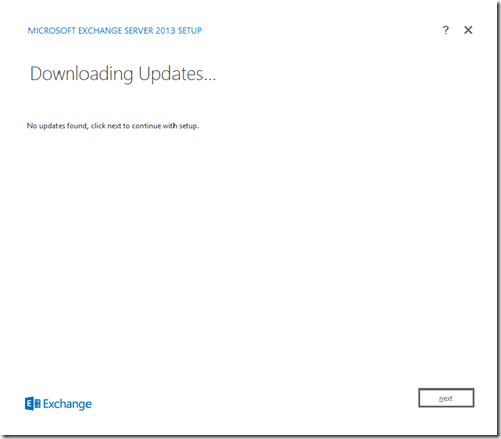
necessary updates will be downloaded
, in my case there was no updates
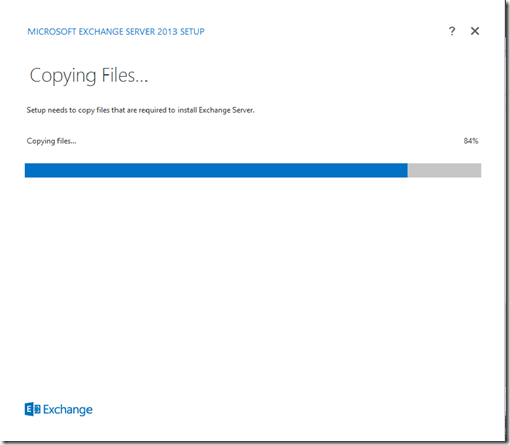
Files are being copied to install
Exchange Server 2013
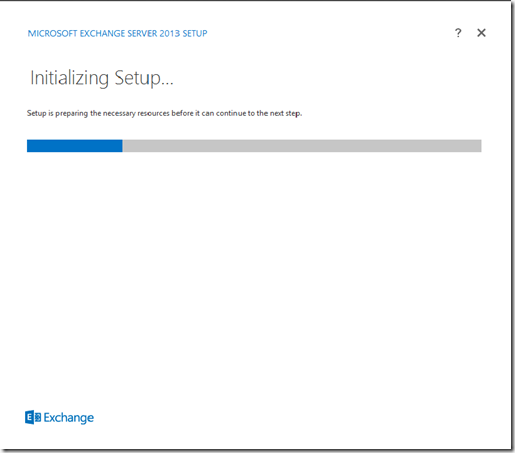
Initializing the Exchange Server 2013
Setup
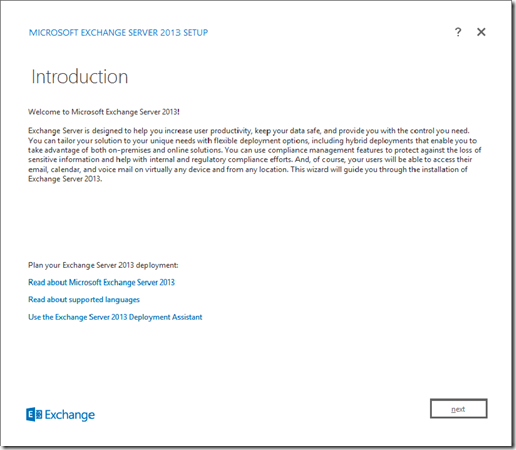
Gives and Introduction to the
Exchange Server 2013, upon reading click next
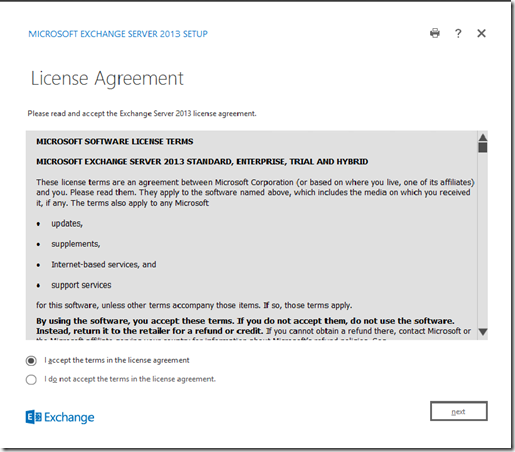
Accept the License Agreement (you are
supposed to read this) and click next
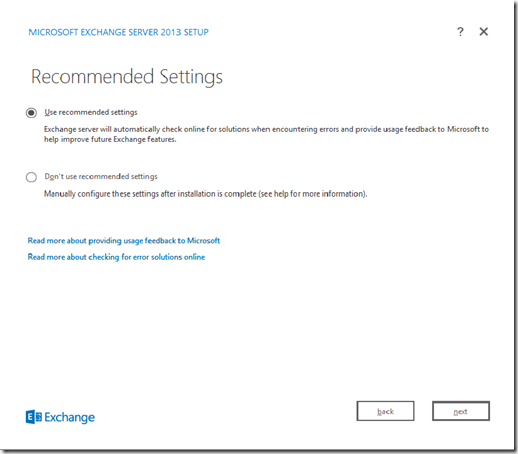
I will have left the default setting
of selecting the “Use Recommended Settings” option and click next
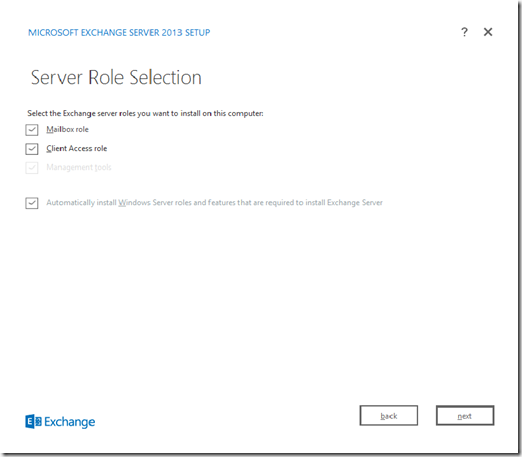
The Server roles that are to be
installed select and click next. Notice that Exchange Server 2013 does not
contain all the server roles that were introduced in Exchange 2007 and 2010. It
has been reduced to 2 now (to read more click here)
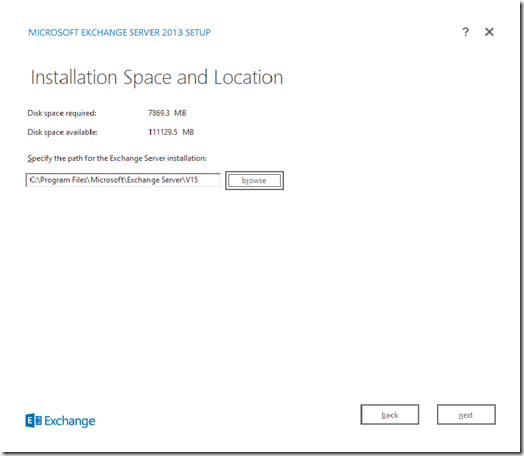
The path of the installation and the
required space for the installation. click next upon making the
changes
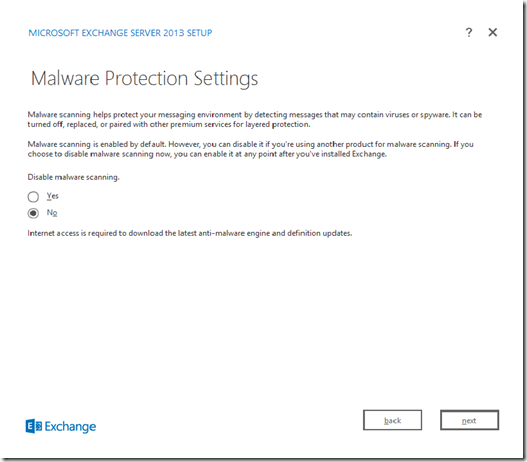
Malware Protection Settings – I am
leaving it on – default setting and click next
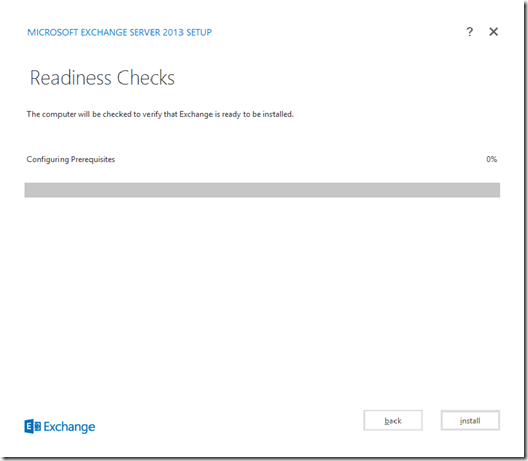
Readiness check – whether your server
is ready for Exchange 2013, click install once done
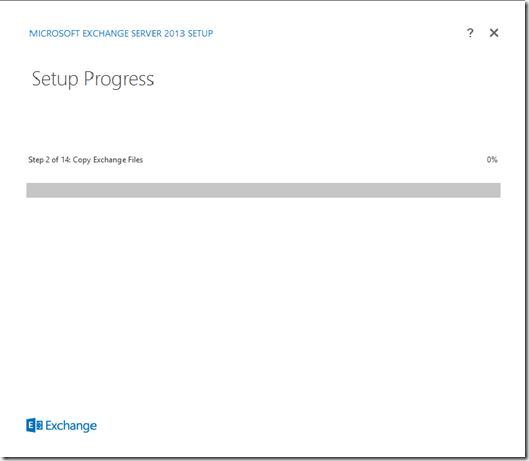
Installation begins and it has 14
steps. It will take some time
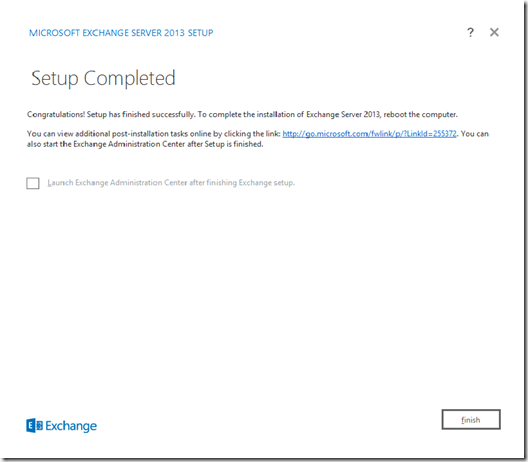
Setup completion, read and click
finish.
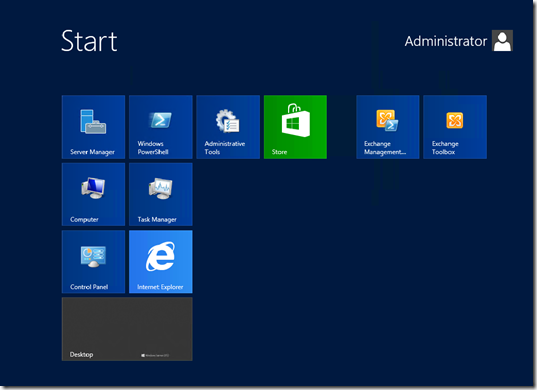
Exchange Server 2013 program
shortcuts on Windows Server 2012. Note that the Exchange Management Console
(EMC) is no where to be seen. This is because the traditional EMC is being moved
to a web interface
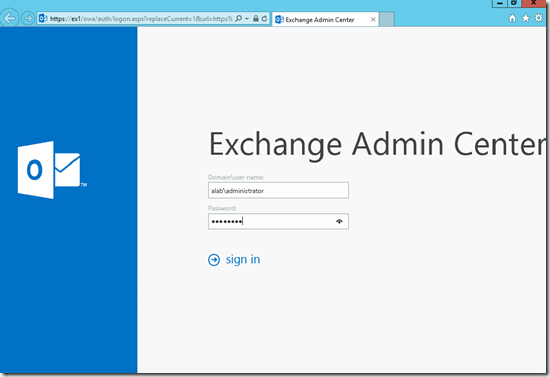
Log in page for the Web Based
Exchange Admin center (Equivalent to EMC). login using your admin
credentials
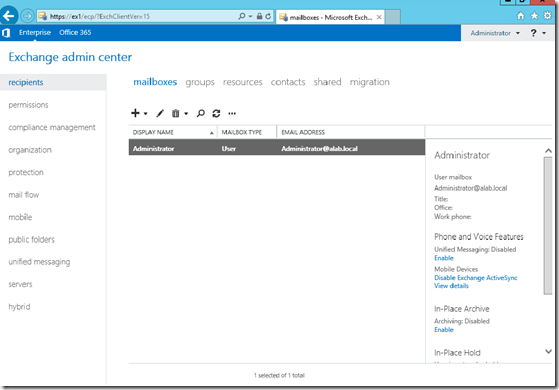
The admin center
interface.

No comments:
Post a Comment