Wondering where all those account lockouts came from? Oh you found it’s from the CAS!!! But what in CAS? CAS won’t lock a user unless there is a device involved… But there is no way to find that out. Think again – Yes, it is indeed possible.
ISSUE:
User id is getting lock the moment we unlock from AD. When you check the Security log you can only see the event with the exchange server and when you see IIS log you see F5 IP address but you can’t find real IP address of the client device.
Environment:
Windows 2008 R2 SP1
Exchange 2010 SP2 RU4
Exchange is CHM which is in CAS Array, Then F5 load balancer.
Different AD and Resource Forest Design
Solution:
Now in this kind of setup it is hard to get the IP of the client machine in Security event log so the option is IIS Advance Logging.
Below are the steps to enable Advance logging which will add the IP address of the Client device.
1. Install “Advanced Logging” on each CAS server:
Download x64 version at http://www.microsoft.com/en-us/download/details.aspx?id=7211
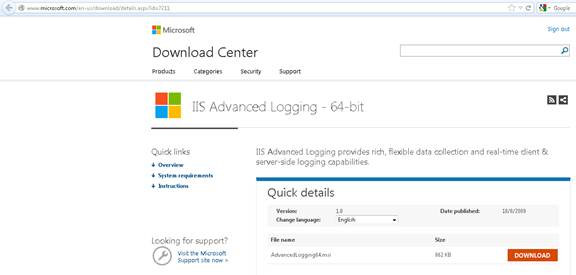
Double click on msi file.
Check the accept checkbox and click, next, next and finish for the installation.
2. Add field “X-Forwarded-For” to the Advance Logging configuration:
3. From your Windows Server 2008 or Windows Server 2008 R2 device, open the Internet Information Services (IIS) Manager.
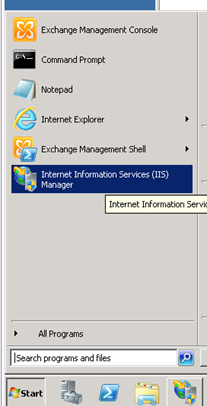
4. From the Connections navigation pane, click the appropriate CAS or CHM server on which you are configuring Advanced Logging. The Home page appears in the main panel. It will look like the below screenshot
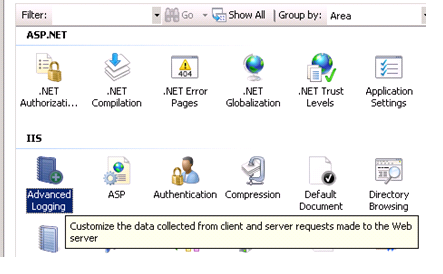
5. From the Home page, under IIS, double-click Advanced Logging. It will look like the below screenshot
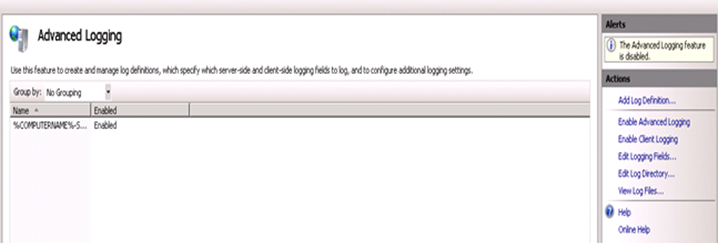
6. From the Actions pane on the right, click Edit Logging Fields.
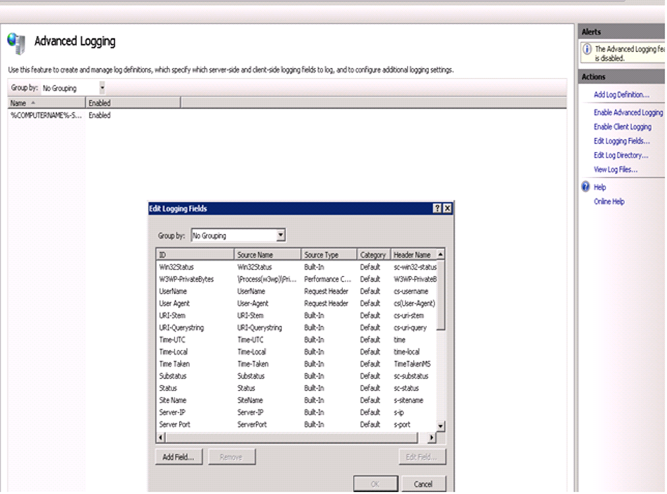
7. From the Edit Logging Fields dialog box, click the Add Field button, and then complete the following:
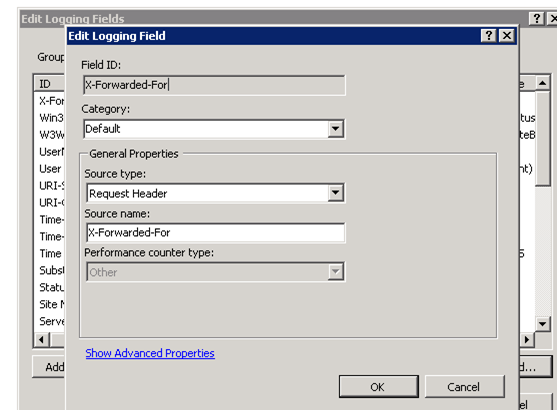
a. In the Field ID box, type X-Forwarded-For.
b. From the Category list, select Default.
c. From the Source Type list, select Request Header.
d. In the Source Name box, type X-Forwarded-For.
e. Click the OK button in the Add Logging Field box, and then click the OK button in the Edit Logging Fields box.
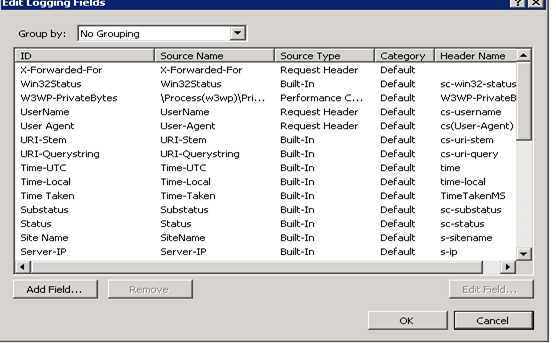
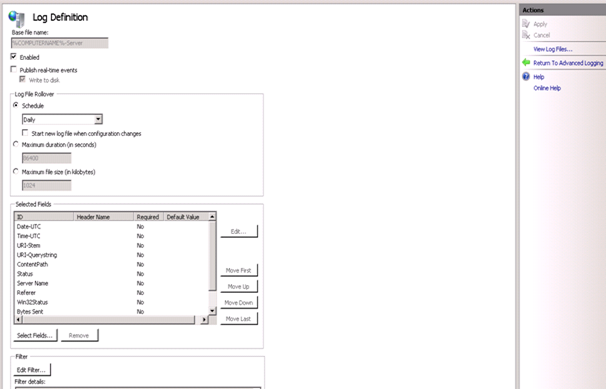
8. Click a Log Definition to select it. By default, there is only one: %COMPUTERNAME%-Server. The log definition you select must have a status of Enabled.
9. From the Actions pane on the right, click Edit Log Definition or right click and select Edit Log Definition.
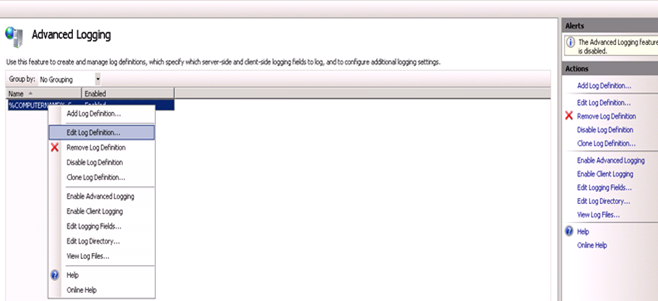
10. Click the Select Fields button, and then check the box for the X-Forwarded-For logging field.
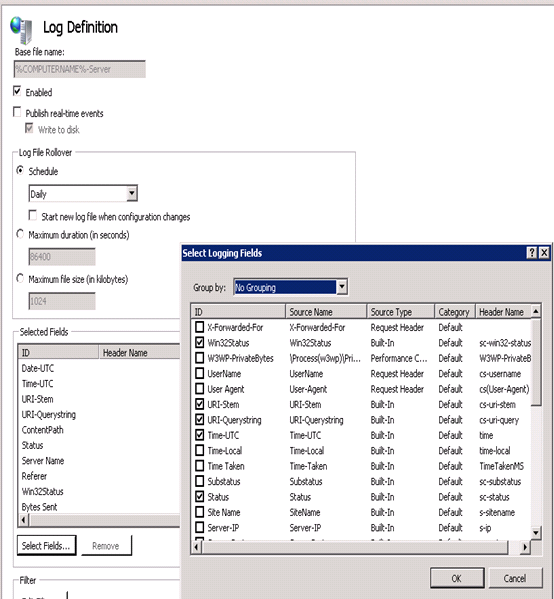
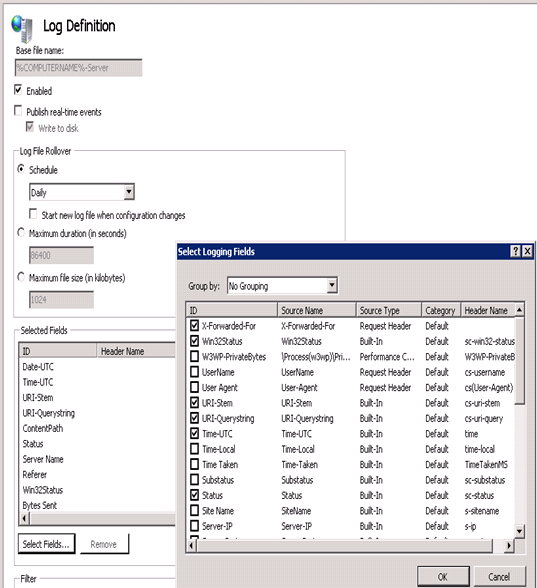
11. Click the OK button.
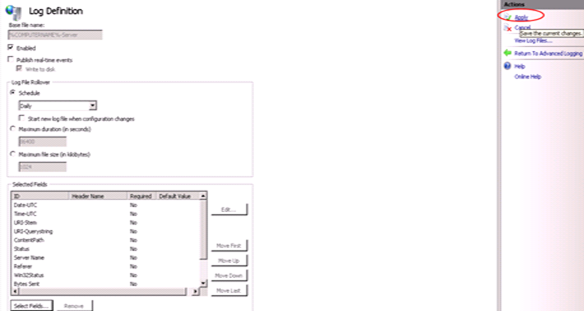
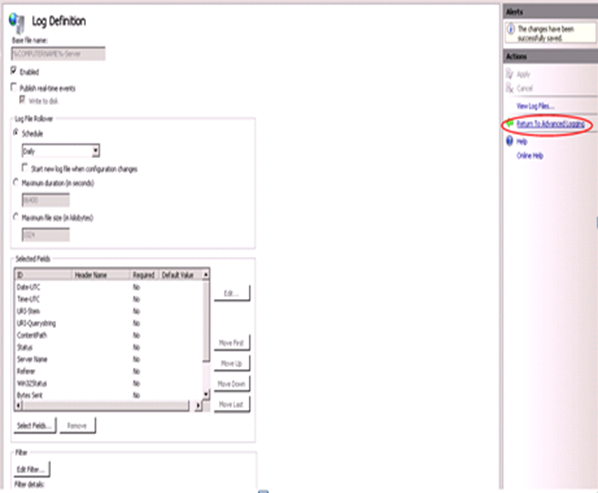
12. From the Actions pane, click Apply.
11. Click Return To Advanced Logging.
12. In the Actions pane, click Enable Advanced Logging.
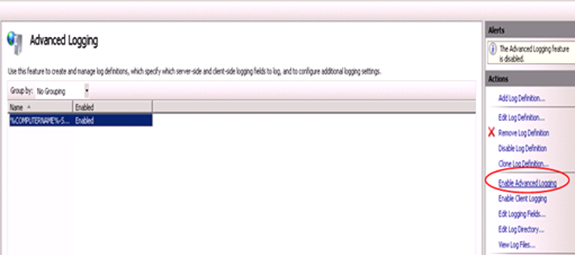
13. Now, when you look at Inetpub\logs, you will see a new AdvancedLogs folder will be available with new logs and these logs will have the client device IP address.
Sample Log File
Prabhat Nigam (Wizkid)
Team@ MSExchangeGuru
Team@ MSExchangeGuru


No comments:
Post a Comment